
How To Hang Art
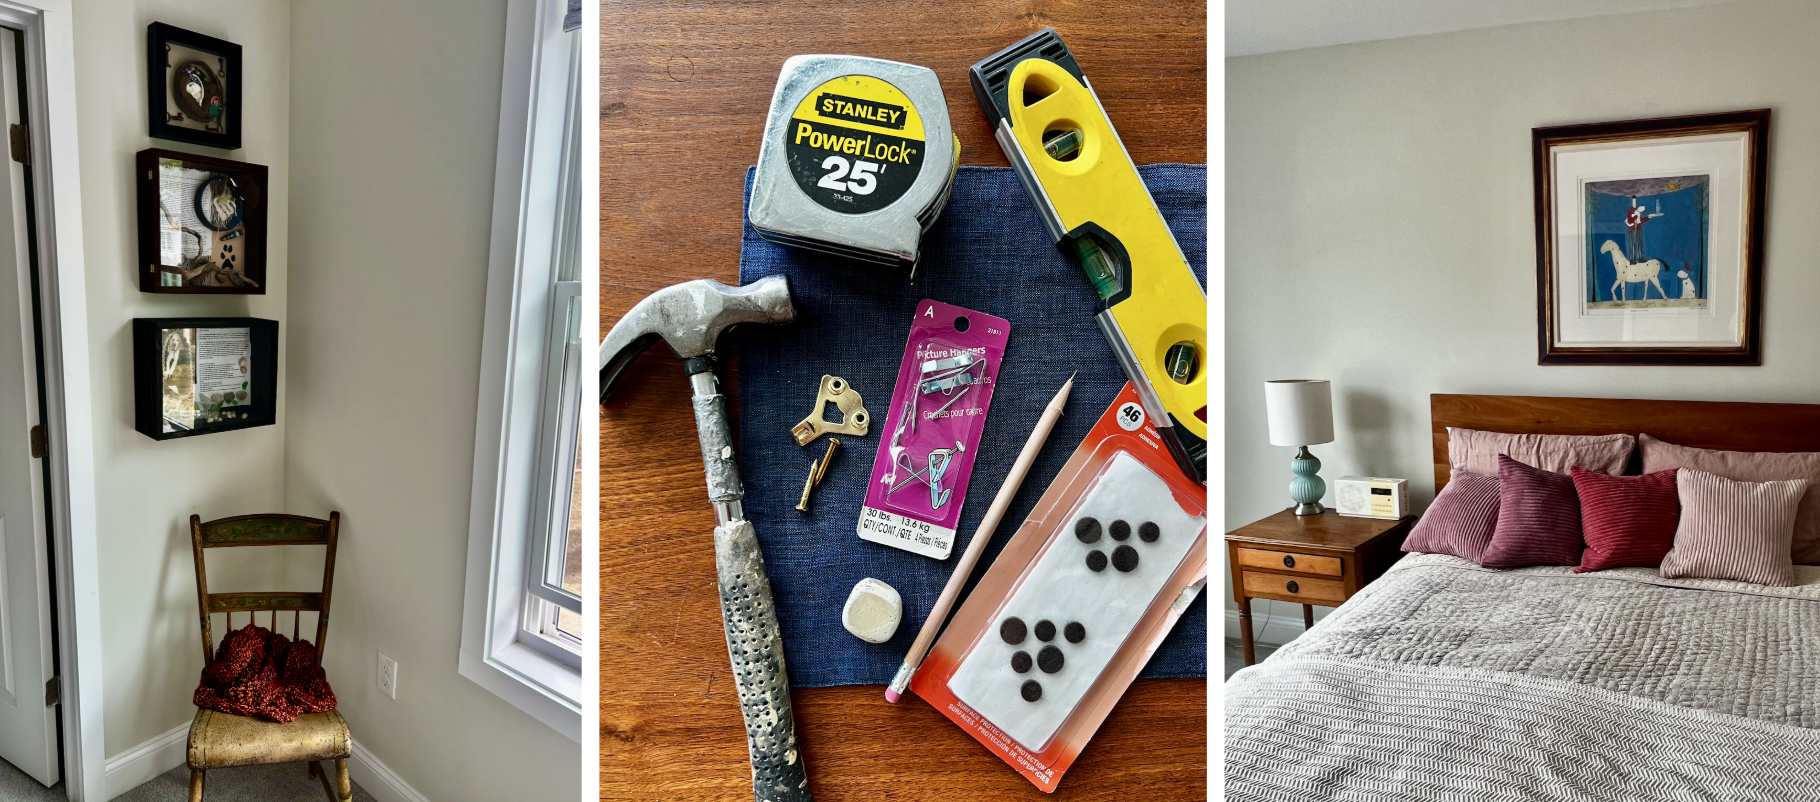
A measuring tape, a level, a pencil, and a friend will help make hanging art easier, and more fun.
Hanging Art Made Simple
Hanging artwork doesn’t need to be a complicated affair. It does, however, take a little patience and planning. A few simple steps can help you avoid unnecessary holes in the wall and make the process much more enjoyable.
Gather Your Tools
Before you begin, gather a few basics:
Measuring tape
Level
Hammer
Pencil
Picture hooks
For heavier pieces, you will want a stud finder or molly bolts. Many artworks won’t require these, but it’s good to have them on hand for pieces that are more than a few pounds. It is critical your hooks are strong enough for the work you are hanging, so be sure to weigh it if you are in doubt. Mirrors tend to be heavy, so have extra strong hooks and anchors for those.
Optional but recommended: felt pads for the back corners of frames to prevent scratches and keep artwork from shifting on the wall.
Start on the Floor
Before making any holes, lay your artwork out on the floor where you think you'd like it to hang. This gives you a chance to experiment with placement.
As a general rule, vertical pieces work beautifully in vertical spaces, such as between windows, while horizontal pieces often feel right at home above a sofa or sideboard. Groupings can also be very effective—for example, three vertical prints hung together can create a strong visual statement in a wider, horizontal space.
Grab a Friend
Two people make the job easier—and more fun.
One person can hold the artwork while the other steps back across the room and offers helpful feedback such as, “A little to the left,” or “Try it slightly higher.” Seeing the piece from a distance helps you make better decisions before committing to a location.
Find the Right Height
You've probably heard the term "eye level," but of course everyone's eye level is different.
A commonly used guideline is to place the center of the artwork about 60 inches from the floor. That said, context matters. Consider the furniture and architectural elements around the piece.
For example, if artwork is hanging above a shorter side table, lowering it slightly may create a more cohesive vignette. Hanging it too high can unintentionally create competing focal points rather than a comfortable visual connection.
Measure First, Hang Once
I'll admit that I used to rely on "eyeballing" things. Experience has taught me that a measuring tape saves time—and leaves fewer holes in the wall.
Start by finding the center point between walls, window casings, or other reference points and mark it lightly with a pencil vertically.
Next, hold the artwork at your desired height and make a small mark horizontally indicating the top of the frame. Measure from the top of the frame down to the hanging wire or hook. If this is 6’’ you will want to have your third and final pencil mark 6 ‘‘ down from your horizontal mark. This will be where your hanging hardware goes into the wall. I’ll often draw a fat dot, so I know it is where my nail or hook goes, and to distinguish it from vertical center point, and top of the frame mark. The fat dot will fall below your horizontal mark, and center on your vertical mark.
Don't Skip the Level
A level is essential for larger or heavier pieces that require two mounting points.
One common mistake is measuring from the ceiling or floor. The reality is that most houses aren't perfectly square, so those measurements can be misleading. A level ensures your artwork is truly straight, regardless of what the room is doing around it.
There are countless hanging hardware options available. I personally like picture hooks that clearly indicate their weight limits. I've also heard great things about monkey hooks. And sometimes, a simple long nail is exactly the right solution.
Need a Hand?
If choosing or hanging artwork still feels overwhelming, I'm happy to help.
Whether you're determining the artwork needs for the room, or figuring out how to make the artwork you already own work beautifully in your home—I bring the tools, the patience, and a practical eye. Most importantly, I make the process enjoyable.
Beautiful spaces don't happen by accident, but creating them doesn't have to be stressful.